Summary
This article will explain how to build and manage your POS menu in Oolio. This article will discuss creating Pages, and adding products to the pages. If you have not yet created products, this article can show you how.
Once Products have been created, the menu can be built.
There are three different types of menus for different things
- POS Menu, which is built to be applied to your Oolio POS
- Kiosk Menu- This is applied to a customer facing Kiosk
- Online Menu - This menu is sent to Oolio Order Manager
This article will cover creating your POS menu only. There are two ways to accomplish this, and this article will cover both methods of creating, editing and managing pages for your front of house POS menu.
Building a POS Menu
Ideally, products created have already been sorted into categories. This will be very helpful when creating your POS menu.
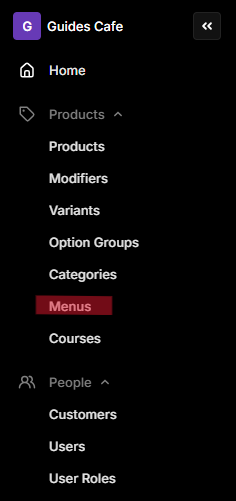
In Back Office, choose Menus from the left hand column.
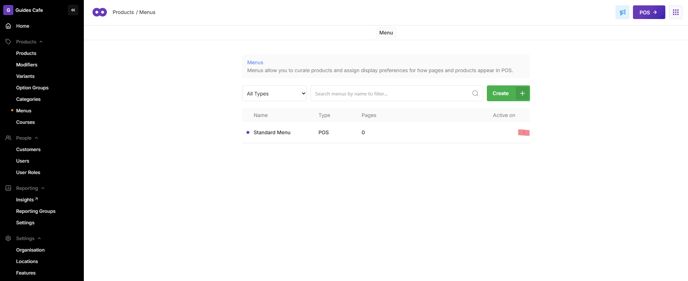
Oolio generates a Standard Menu for POS, which can then be used as a basis for the other menu types. Listed are the Type of menu and number of Pages it contains. Click the arrow to the right of the Standard Menu to begin editing.
First method for creating your menu:
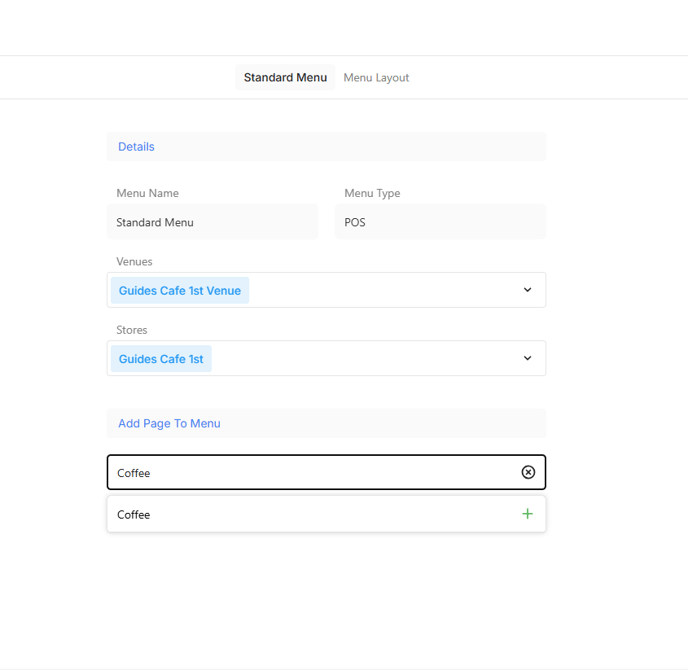
Within the menu settings for the Standard Menu, are options to choose where the menu will show up. If there are multiple stores, these can be selected or deselected as desired. Below the heading Add Page to Menu, there is a search bar.
By clicking into the search bar, Pages can be created. Generally Pages are named for the Categories that the products have been sorted into, as this is the easiest way to group products accordingly. They can, however, be named any way you would like.
- Type the name of the first page you wish to create.
When creating a new page, the Page Detail screen will pop up, where you have the option to assign individual products, or categories* of products, to the page.
*It is important to note that adding products by category will make it much easier to add to your menu down the road using fewer steps. Any future products created and added to existing categories will automatically populate a product tile in POS on the corresponding Page. 
- Continue to add pages this way until you have created all the necessary pages for your menu. Once all of the pages have been added, click Save.
- If you want to rearrange the order of the pages, you can do so by long-pressing the page you want to move and dragging it up or down to where it needs to be
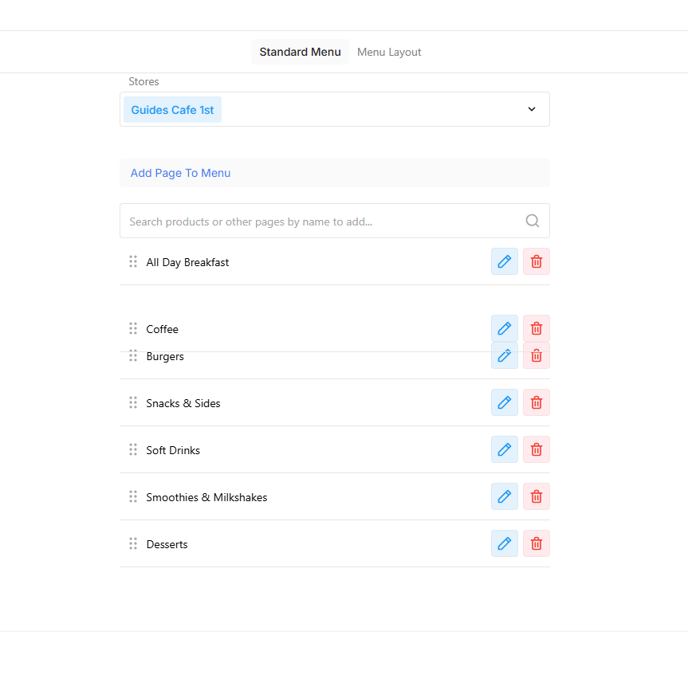
- Every time a page is created from this detail screen, it populates a corresponding tile under the Menu Layout tab at the top. The pages will also populate the product tiles with the categories or products you included when creating the page.
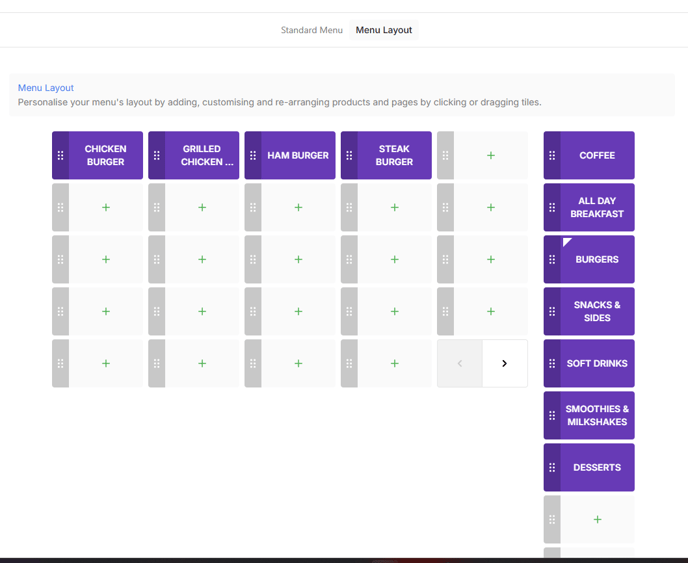
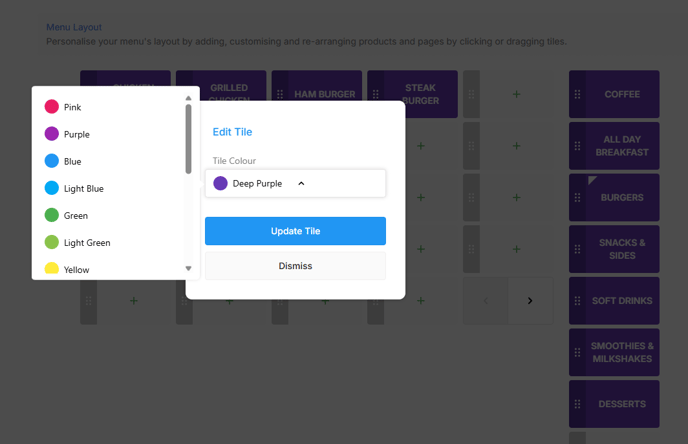
- The colour of all tiles by default is Deep Purple. If desired, you can click each tile and Edit the colour of the Page and Product from the choices in the drop down menu. Once you are happy with how the menu is coloured, click Save in the lower right corner.
Below is the second method of creating your menu pages/layout:
- This process also begins from the Standard Menu detail page.
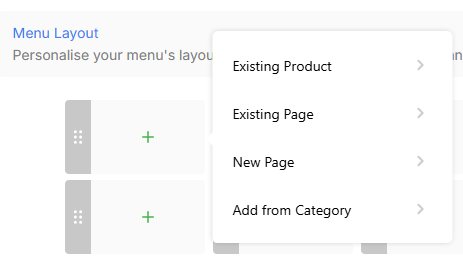
Click Menu Layout at the top of the detail screen. This screen will determine the way your POS will look in the front of house. The Page buttons will be located down the right hand side, with products in the centre columns. 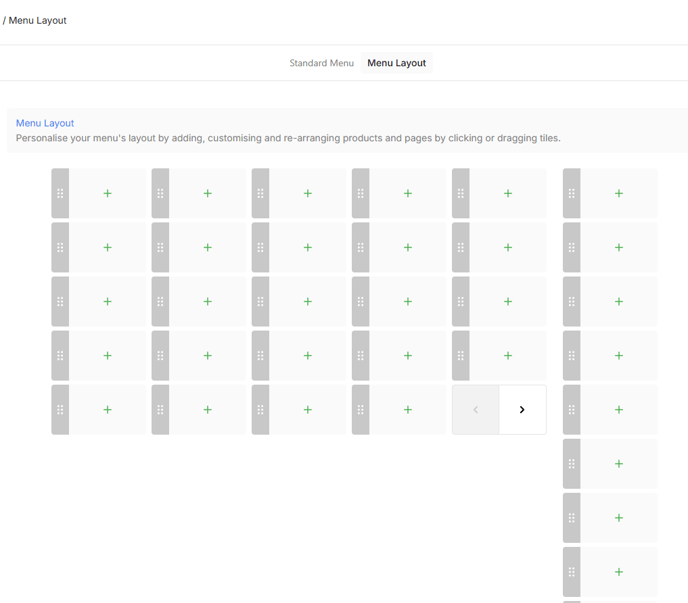
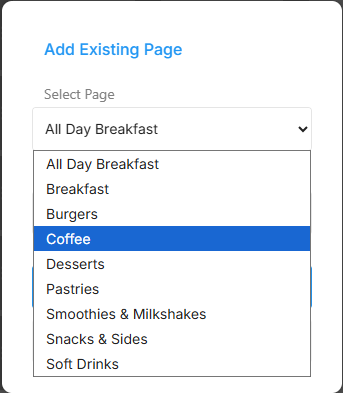
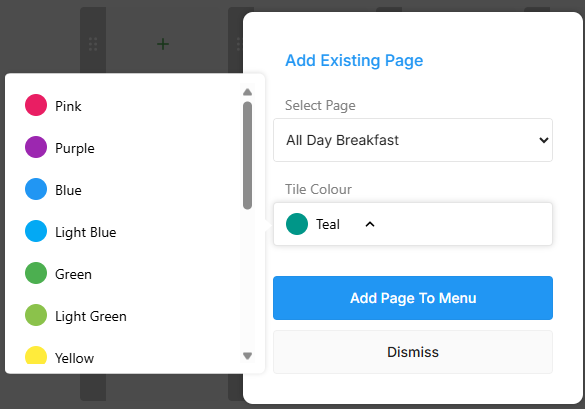
- Begin by clicking the first plus sign from the Pages column, and choosing Add Existing Page or Add New Page from the pop-up options. A new pop-up window will allow you to choose the page you want from a drop down menu of the pages you already created, or allow you to type the name of a new page, and what colour you want it to be.
- Once you have added all the pages to the menu and chosen the colours you want them to be, Click Save at the bottom right of the screen, then click on the top page, and click view page. Click on the first empty product slot in the upper left of the layout screen.
- Depending on how you want to organise your menu, you can add products by category, add products individually, or add pages within the page you're working on. For example, if you want to further organise a page called Beer & Wine, you can add separate Tap Beer, Bottled Beer, Red, White, and Sparkling wine pages within that page to keep the menu tidy and easy to navigate. For now, we will add by category.
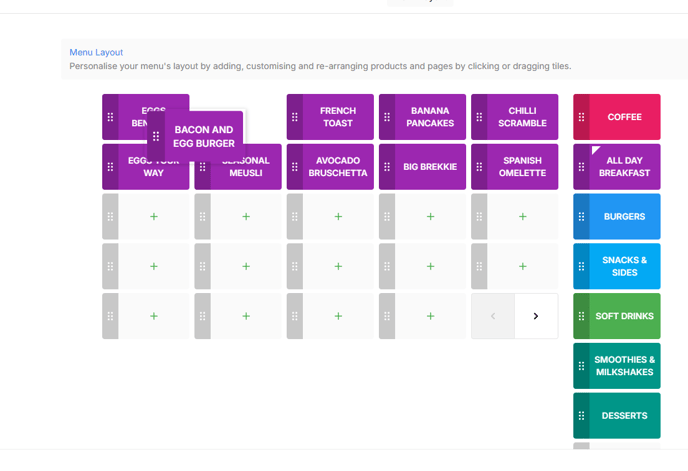
- Adding by the All Day Breakfast category has now populated all the products included to the product page. The default colour within Oolio is Deep Purple. If you want the tiles to match the colour of the Page they belong to, click on each tile, choose Edit Tile, and choose the colour you want the tile to be. Click Update Tile, and once this is done for all tiles on the page, click Save in the lower right corner before moving on.
- By long clicking any of the tiles in the layout, you can drag and rearrange the order of products or pages if needed.
- Always click Save before moving on to another area. Repeat for all the included pages.
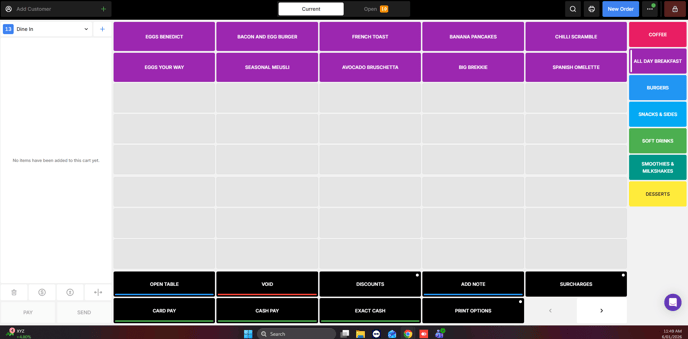
- Once this is done, your menu is ready to go and you can log in to POS and Sync Menu to see the results of your hard work!
Building a Kiosk Menu
Building an online Menu
Managing Multiple Menus