Instead of a crowded POS: switch from your Lunch Menu to your Dinner Menu
Create a Menu for your Online Store offering different products than your POS
For Example: Our Day Menu:

Our Evening Menu:
CREATE A NEW MENU
Let's create a dinner menu with a cocktail page instead of our snacks
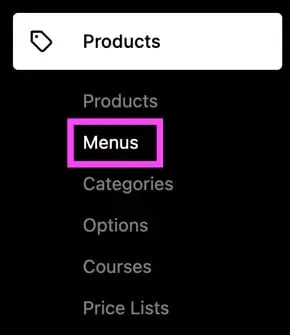
1. In your Back Office => Products => Menus
2. This is where you can see your existing Menus, click on ' Create ' :
( ' Standard Menu ' is your default POS Menu )

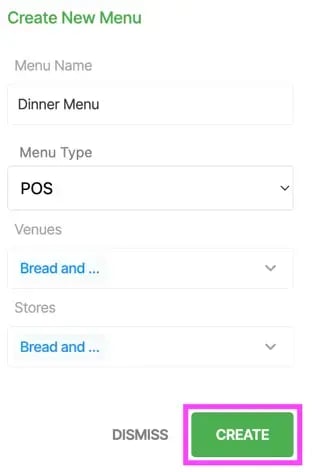
3. Fill up the fields => Create:
- Menu Name: Any menu name that makes sense to you
- Menu Type: POS
( other options are: Online Store & Kiosk ) - Venues: your venue(s) that this new menu will apply to
- Stores: your store(s) that this new menu will apply to
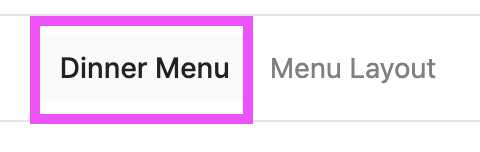
4. Select your new Menu by clicking on it:

ADD PAGES & PRODUCTS TO YOUR NEW MENU
There are 2 ways to add new or existing pages
1. Dinner Menu: From here you Edit your Menu information & add new Pages
ADD AN EXISTING PAGE :
Type the name of the Page & press the ➕ :
( This will also import all the Categories & Products of that Page automatically )

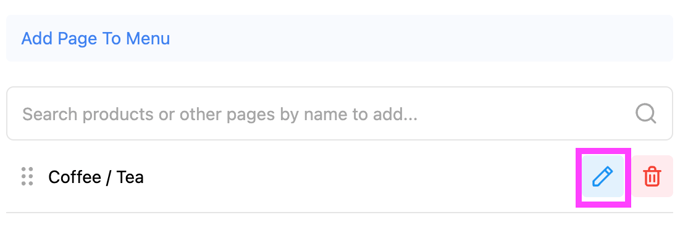
2. Our Page is now added & can be Edited by clicking the ' Pen Icon ' :
( To learn more about editing Pages, see this article: CREATE CATEGORIES & PAGES )
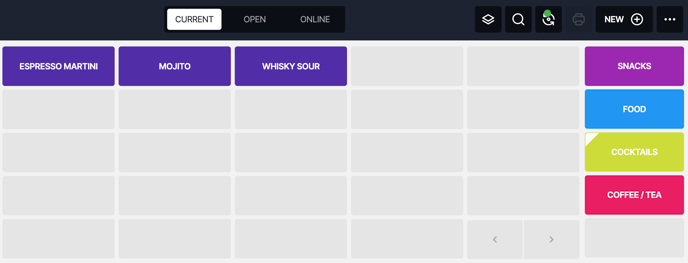
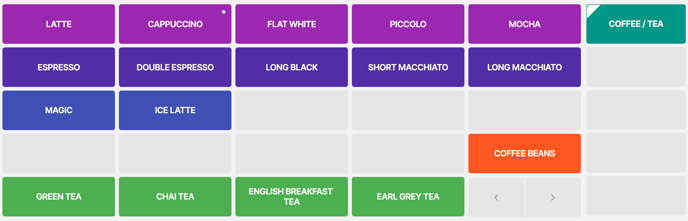
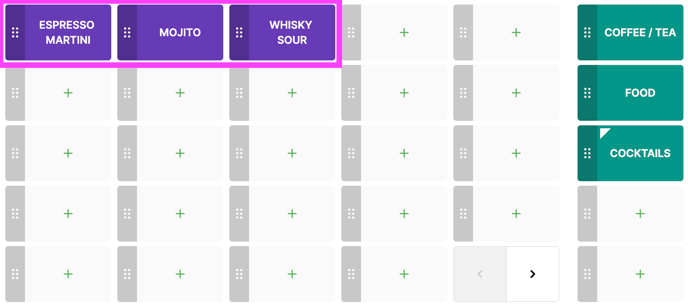
Our new ' Dinner Menu ' would now look like that in the POS:
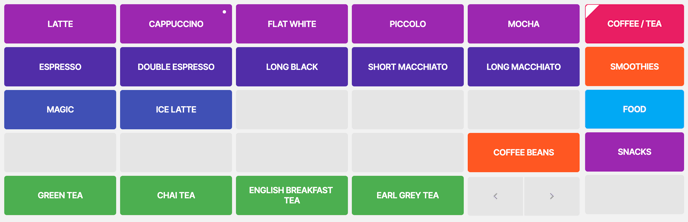
This is our ' Standard Menu ' containing 3 more pages:
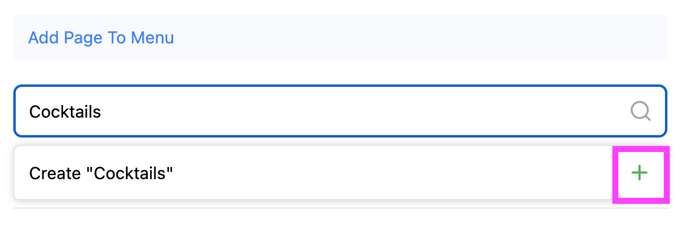
ADD A NEW PAGE + CATEGORIES & PRODUCTS:
Type the name of the Page you would like to Create => click on the ➕ :
2. Assign your Categories to your Page:
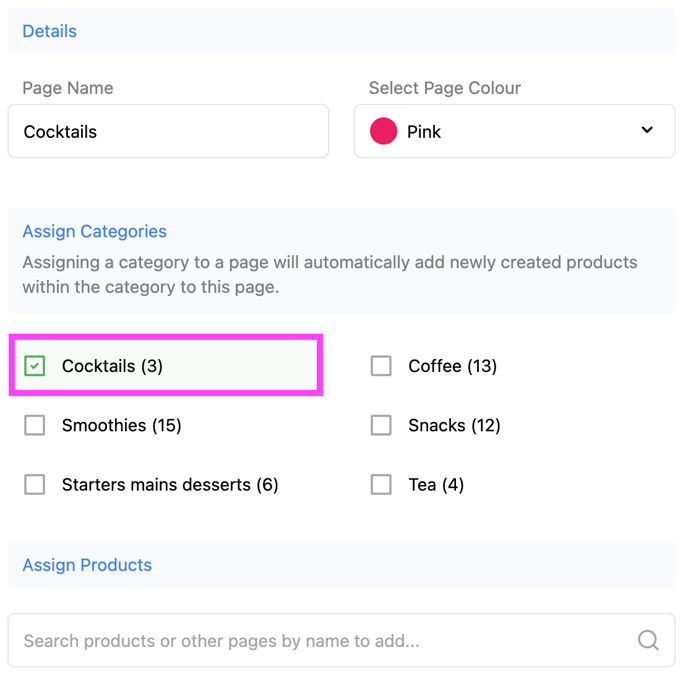
3. Add :

⚠️ If you don't assign any Categories / Products, your Page won't display
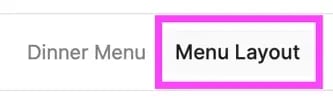
Menu Layout
From here you can add: Pages, Categories & Products to your Menu, you can edit the layout & colors

ADD AN EXISTING PAGE :
1. Import an Existing Page => Click on a Page Tile => ' Existing Page ' :
( This will also import all the Categories & Products assigned to the original Page )

2. Select your Existing Page => ' Add Page To Menu ' :
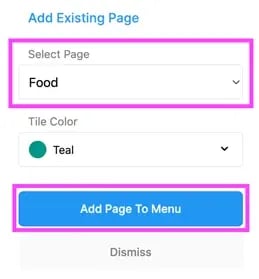
3. SAVE :

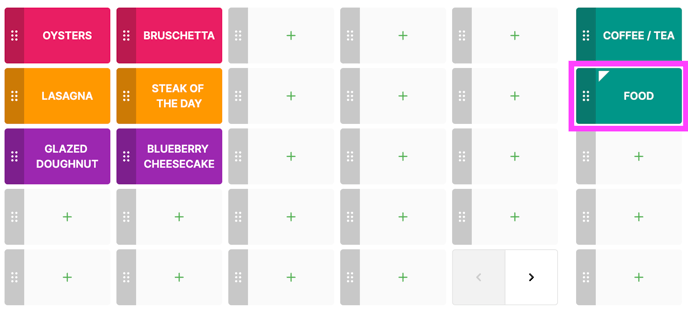
Our Food Page is now added and has automatically imported the Products:
ADD A NEW PAGE + CATEGORIES & PRODUCTS:
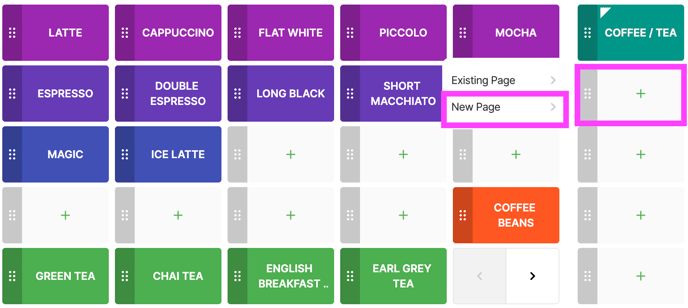
1. Click on a Page Tile => ' New Page ' :
2. Type a ' Page Name ' of your choice => Create & Add to Menu :

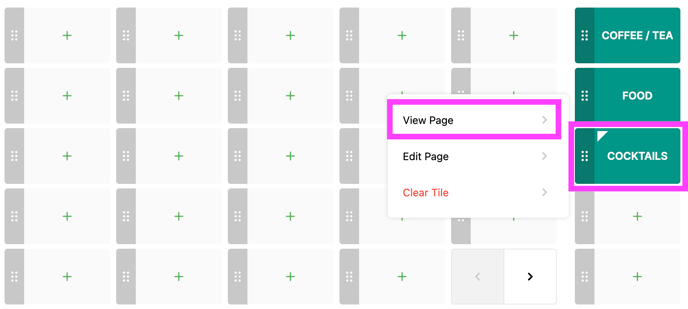
3. View the content of our Page by clicking on it => View Page :
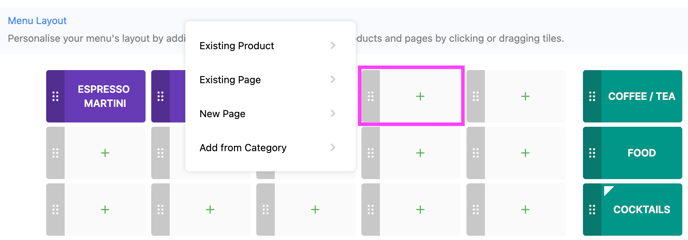
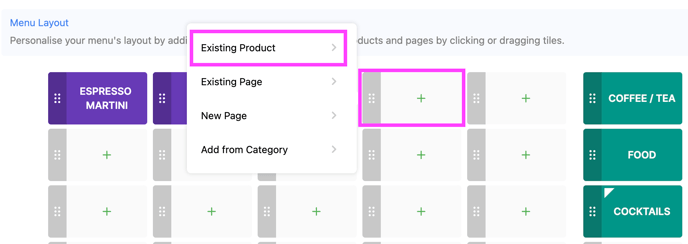
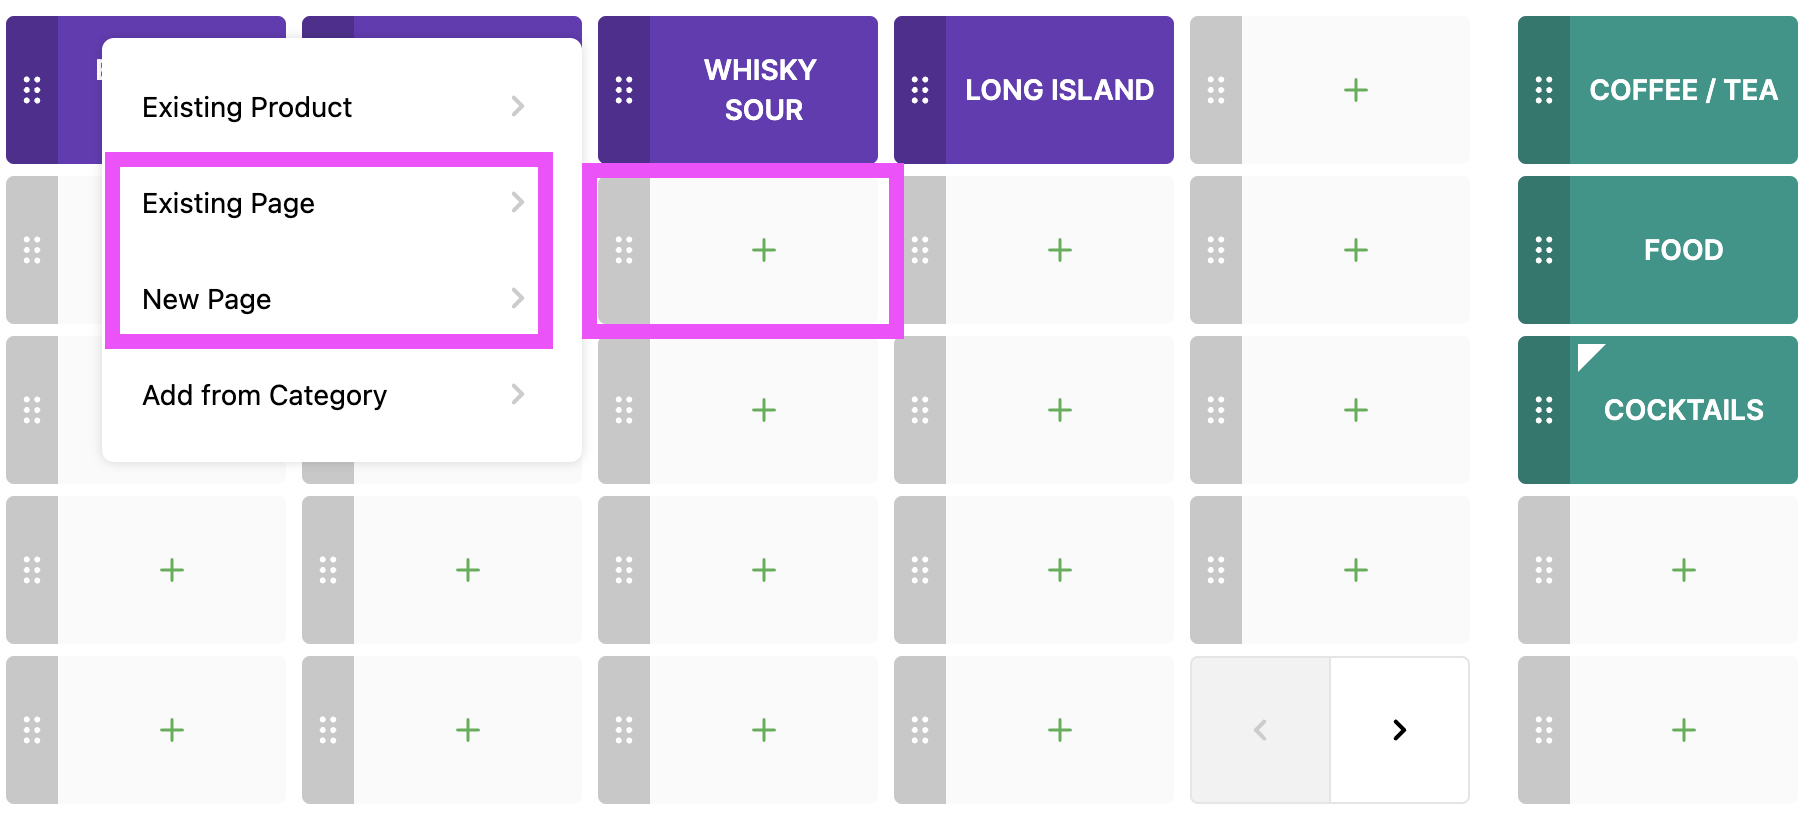
1. Click on a Tile to add:
- Existing Product
- Existing Page
- New Page
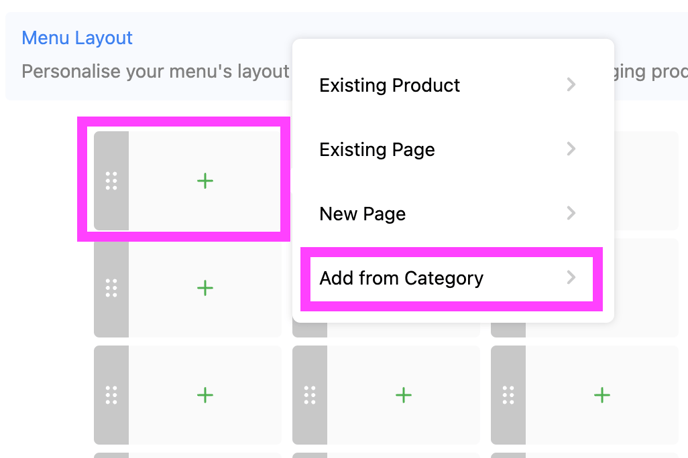
- From Category
⚠️ You cannot create a Category or Product from here, to learn how to create those,
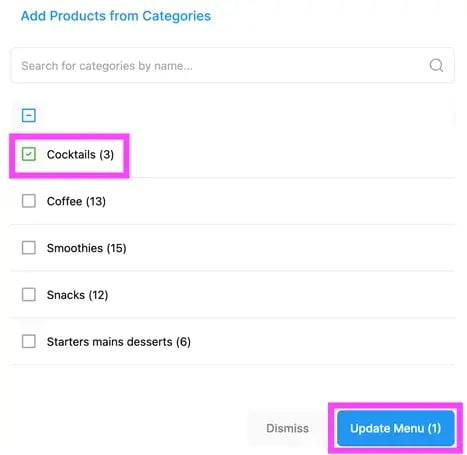
Here we are adding an Existing category: ' Cocktails ' :
2. Tick the Category wanted => Update Menu :
3. Our New Category with Product is now added to our Page ' Cocktails ' :
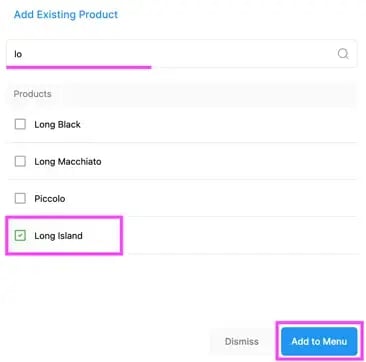
ADD EXISTING PRODUCTS :
Click on Tile => Existing Product :
2. Search your Product => Tick the checkbox => Add to Menu :
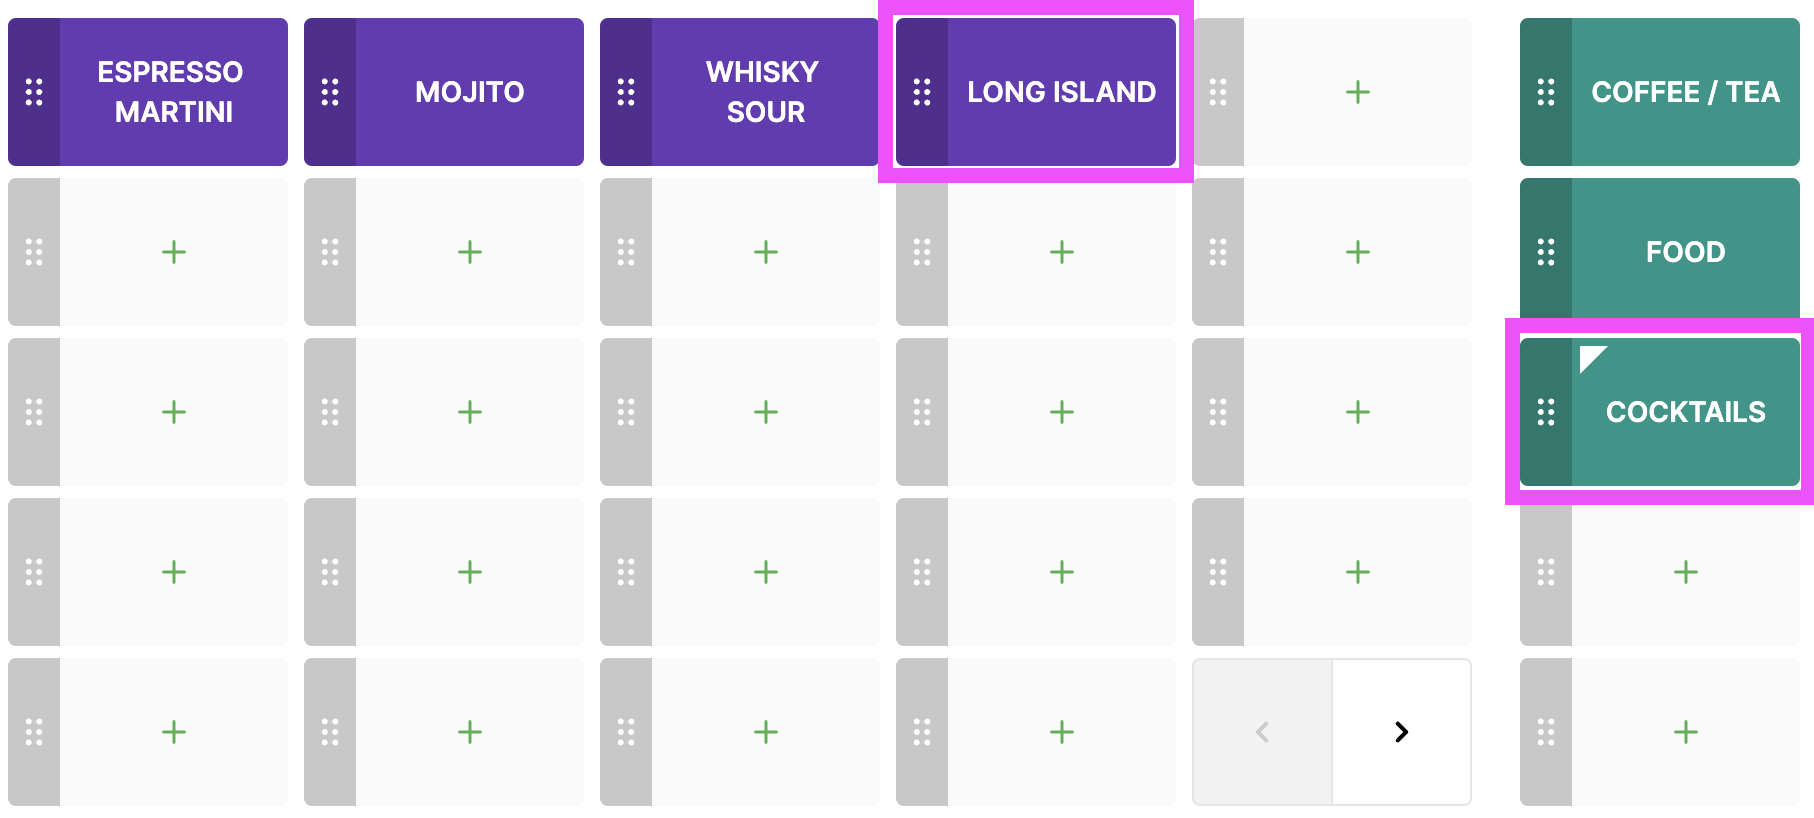
3. Our Product is now added to our ' Cocktail ' Page:
ADD PAGES:
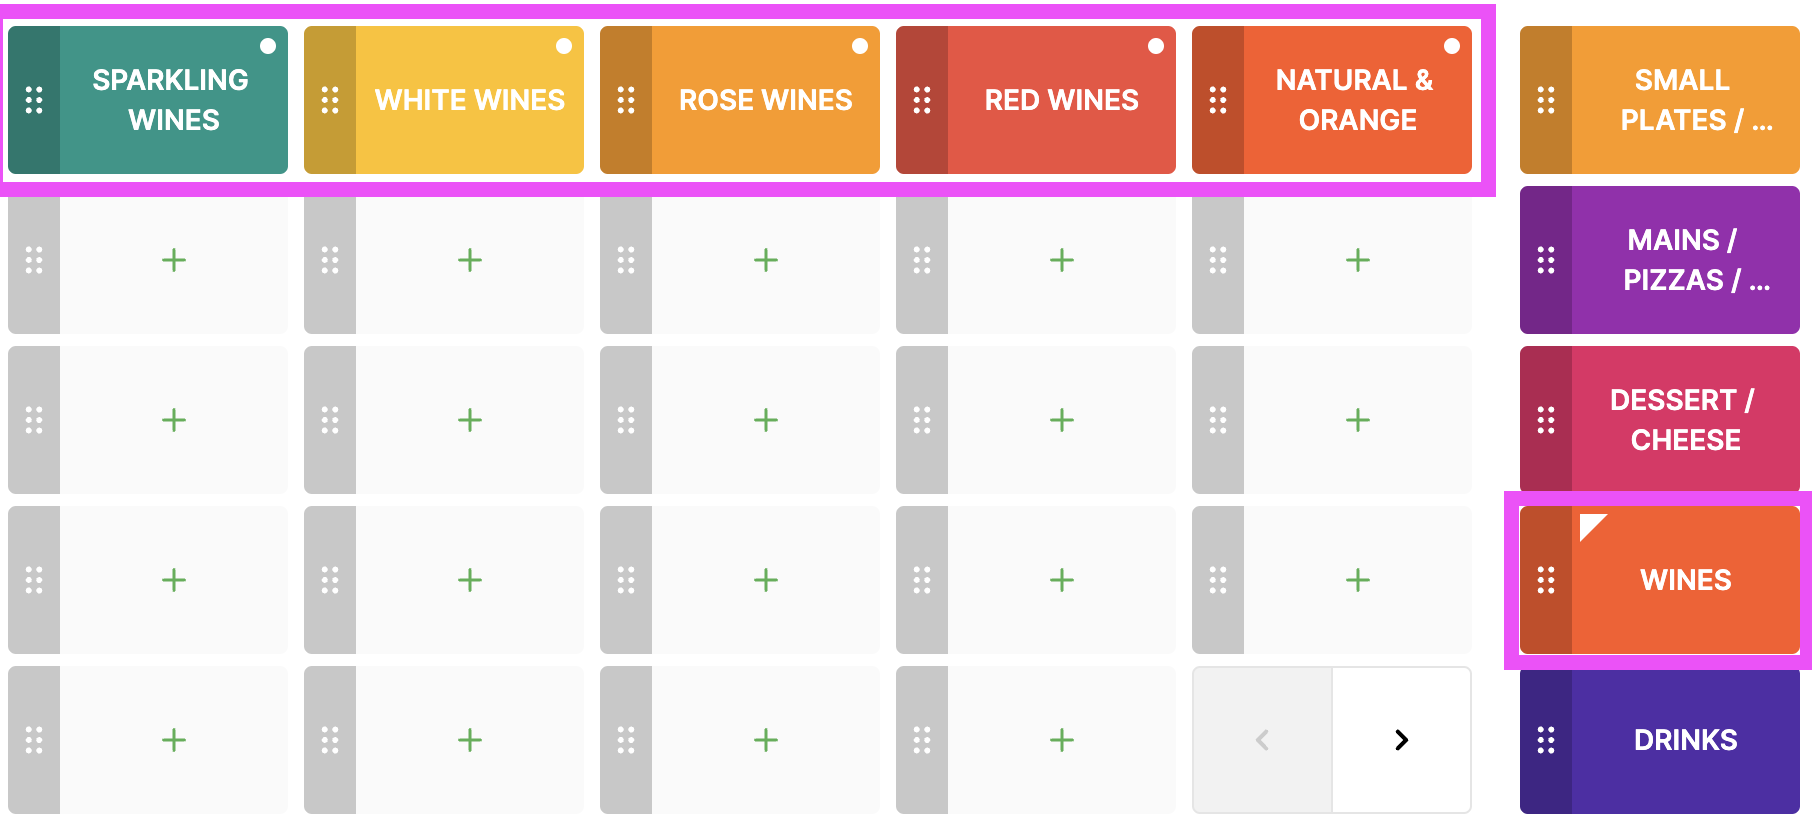
You can choose to add Pages to a Page
Why For?
If you have a lot of wines for example, you can have them all organised as several pages: White, Red, Rose, ... inside the ' Wines ' Page
REMOVE
Learn how to remove Pages, Categories, Products from your Menu
Remove a PAGE from the MENU :
In Products => Menus => click on your Menu
( ' Standard Menu ' being your default menu )

2 ways :
Dinner Menu

-
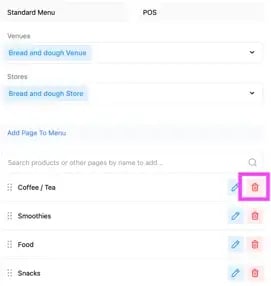
In your Menu => click on the ' Trash Icon ' next to the Page you want to remove:
In your Menu => click on the ' Trash Icon ' next to the Page you want to remove:
Menu Layout
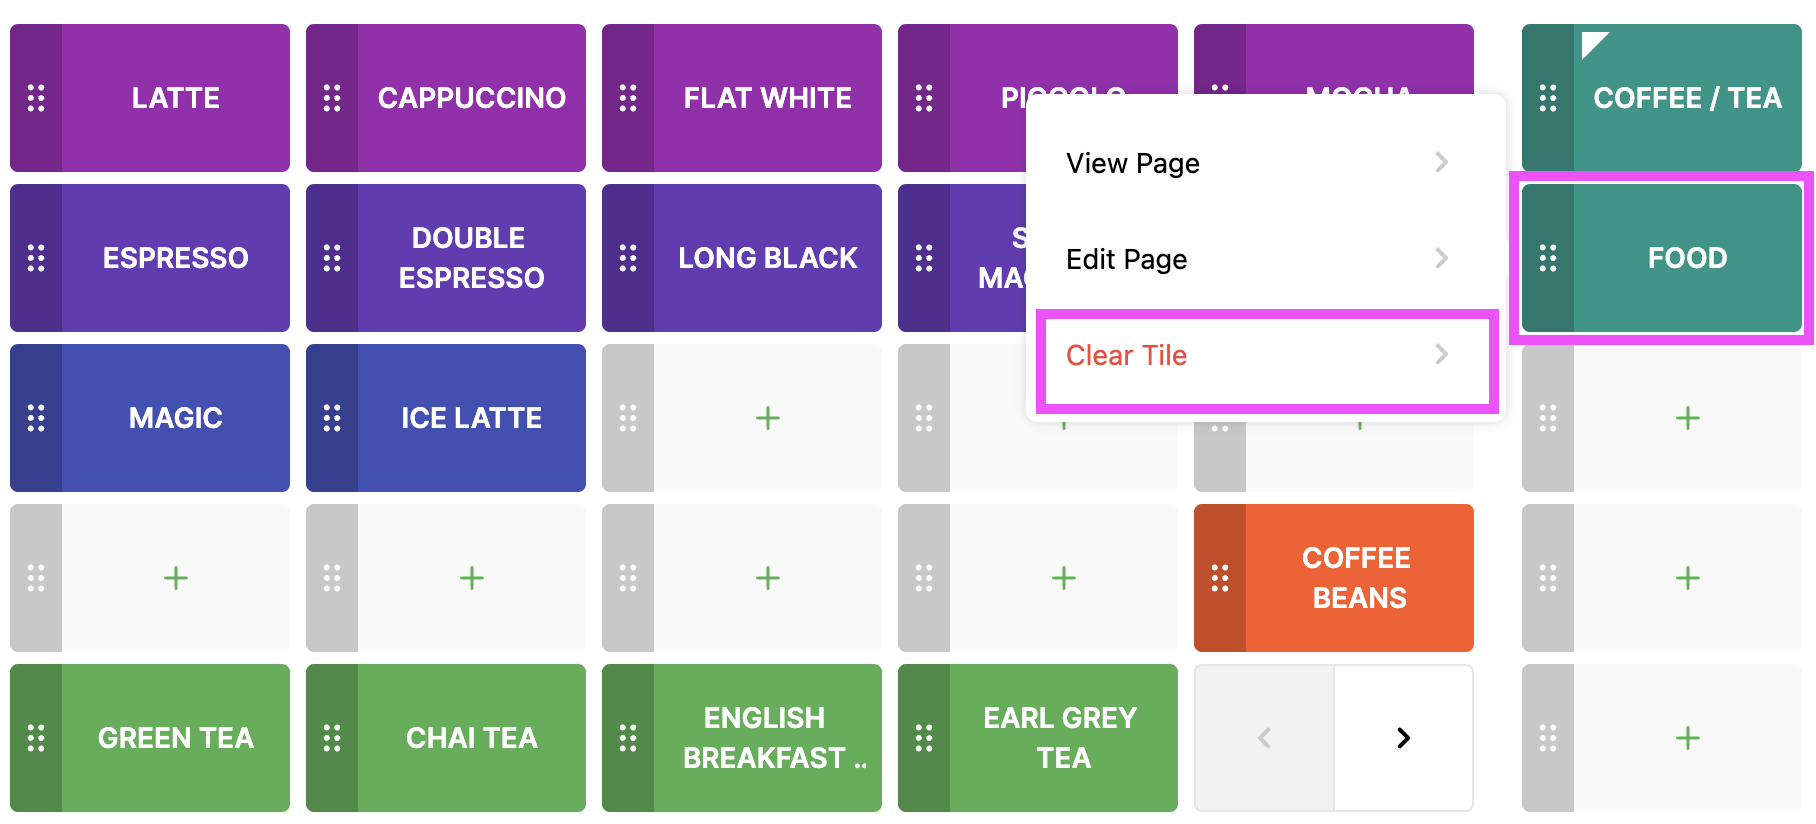
1. To remove a PAGE => Click on the Page => Clear Tile :
Remove a CATEGORY from a PAGE :
⚠️ You cannot remove a Category from the Menu Layout
Deleting Products
Re-Assigning Products to a different Category
2. In your Function Map => click on the arrow :
( Bottom POS )