
The Verifone S1F2 is an Android payment terminal used to process card payments and manage terminal functions such as network connections, transaction history, totals, and device information.
This guide covers the main S1F2 controls and common terminal tasks.
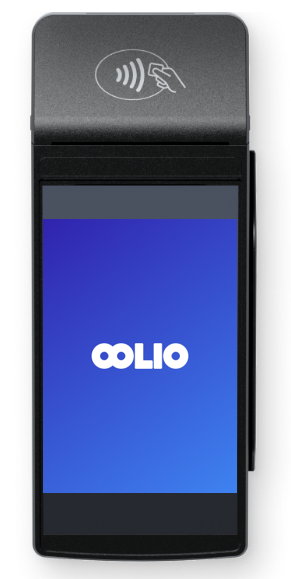
Turn on the terminal
Press and hold the Power button until the display turns on.
If required, connect the terminal to a power supply before turning it on.
Note: After being powered off for an extended period, the terminal may perform a maintenance call when starting to synchronise configuration and software updates. This can take approximately 10 to 20 minutes.
Insert the receipt paper roll
Use a 57 x 40 mm receipt paper roll.
- Pull up the latch on the paper compartment.
- Swing the cover downwards.
- Insert the paper roll, leaving a small amount of paper extending from the compartment.
- Close the paper compartment cover.
Understand the terminal menus
The S1F2 includes three main menu areas: Settings, Transactions, and Payment.
Settings:
-
Use Settings to manage the terminal configuration and device information.
-
Available options include:
- Device info: View the terminal serial number, software version, configuration version, store details, and other device information.
- Network: Configure Wi-Fi and other network connections or enable Airplane Mode.
- Config: View or update the installed configuration version.
- Display: Adjust screen brightness.
- Diagnostics: Run network tests or send a diagnostic report.
- Apps: View installed applications and certificates.
-
No passcode is required for Device info, Display, or Diagnostics.
-
A configured Admin menu passcode is required for:
- Network
- Config
- Apps
- Software updates
Transactions:
-
Use Transactions to review and manage payment activity.
-
Available options include:
- History: View transactions stored on the terminal and reprint merchant or customer receipts for approved transactions.
- Totals: View, print, or reset the terminal Totals report.
- New transaction: Start supported payment transactions when the terminal is used in standalone mode.
- When the terminal is used in standalone mode, the Transactions menu does not require a passcode.
-
For an integrated setup, use the configured Transactions passcode.
Payment:
-
Use Payment to start a standard payment when the terminal is operating in standalone mode.
-
This can also be used when the EFTPOS terminal is not connected to POS and the payment needs to be processed directly on the terminal.
Connect the terminal to Wi-Fi
- Select Settings > Network.
- Enter the required passcode.
- Select Wi-Fi.
- Turn WLAN on.
- Select the + to view available Wi-Fi networks.
- Select the required network.
- Enter the network password.
The terminal connects to the selected Wi-Fi network.
Switch from Wi-Fi to 4G
- Select Settings > Network.
- Enter the required passcode.
- Turn WLAN off.
The terminal can then use its available mobile network connection.
View Device info
Open Settings > Device info to view terminal information.
The screen displays:
- Model
- Serial number
- IP address
- Software version
- Configuration version
- Merchant account
- Store
- Store address
A QR code containing the device information can also be displayed from this screen.
View, print, and reset Totals
The Totals report shows transaction activity processed by the terminal since the report was last reset.
This can include:
- Sales
- Refunds
- Gratuities or tips
- Cancellations
Resetting the Totals allows the report to be used for daily or shift-based reporting.
- Select Transactions > Totals.
- Enter the Transactions menu passcode.
- Review the report for the displayed period.
- From the Totals screen, select the Print button.
- Select the Reset button to begin a new reporting period.
The Totals from the previous reporting period are no longer displayed after the reset.
Turn off the terminal
- Press and hold the Power button until the shutdown dialog appears.
- Confirm that the terminal is turned off.