Surcharges for online ordering are managed through the Orders app. Once a surcharge is created, it will automatically apply to orders that match the rules set for it. The surcharge will remain active until it is edited or deleted.
Step One: Open the Orders App
To create and manage online ordering surcharges, first open the Orders app from Back Office.
- From Back Office, select the nine-dot menu in the top right corner.
- Select 'Orders'.
- This will open the Orders app in a new browser tab.

Step Two: Open the Surcharges Page
Once in Orders, you can access the surcharge settings from the left-hand menu.
- Confirm the correct location is selected.
- In the left-hand menu, navigate to 'Adjustments'.
- Select 'Surcharges'.
This will open the main Surcharges screen, where all active and inactive surcharges can be viewed.

Step Three: Create a New Surcharge
A new surcharge can be created from the Surcharges page, including where it will apply.
- Select 'Create+'.
- This will open the surcharge details page.
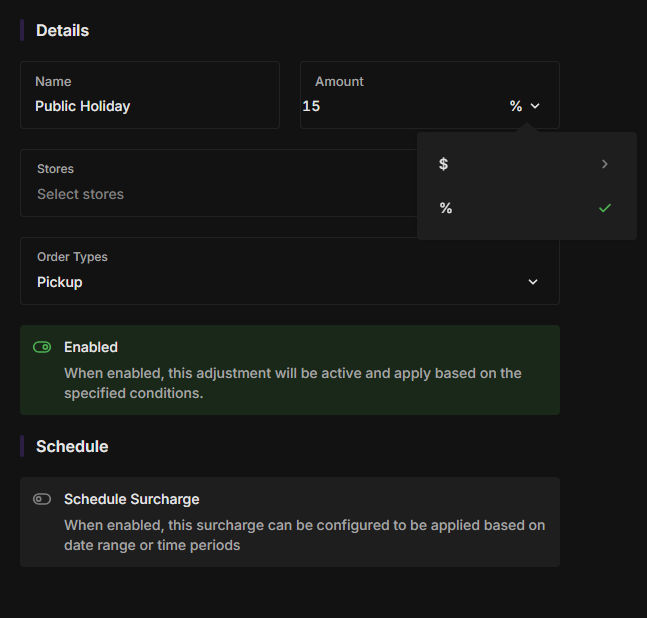
- Enter the name of the surcharge.
- Enter the amount to be charged.
- Use the dropdown menu to choose whether the surcharge will be applied as a dollar amount ($) or a percentage (%).
- Select the relevant stores.
- Select the relevant order types.
This determines which online orders the surcharge will apply to.
For example, this could be used to create a public holiday surcharge.
Step Four: Set Scheduling Options
If the surcharge should only apply during certain dates or times, scheduling can be enabled.
- Toggle 'Schedule Surcharge' to on.
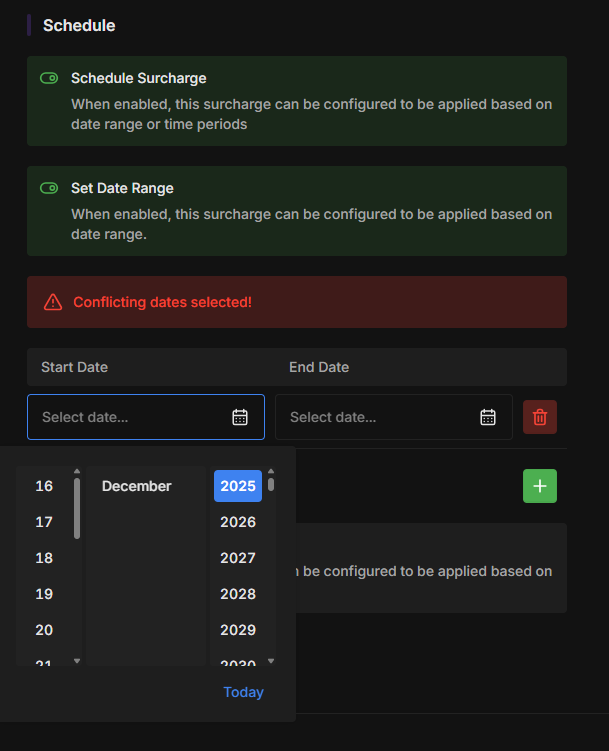
- To apply the surcharge for specific dates, toggle set date range to on, then enter the required date range.
- To limit the surcharge to specific days or times, enable 'Set Time Period'.
- Enter the required rules, such as specific days (e.g. Sundays) or time periods.
Multiple dates can be selected at once to reduce future setup. This is useful when a surcharge should only apply during recurring periods rather than across full dates.
Step Five: Save the Surcharge
Once all surcharge details have been completed, save the new surcharge.
- Review the surcharge settings.
- Select 'Create Surcharge' in the lower right corner.
The surcharge will now be visible on the main Surcharges screen.

Important Information
Online ordering surcharges are managed separately from surcharges configured for the in-house POS. Any changes to online surcharges must be made through the Orders app.