DEVICE PROFILES are Profiles you can use across multiple Devices: POS, Tablet, or have specific ones for every device.
What does it mean?
It means that every single Device can have a specific setting that suits its needs:
What Payment Terminal it's connected to, the Workflow, which Sections are assigned, your preferred Order Types (dine-in, takeaway, delivery), and the options you want to display.
For example, let's say you have 3 POS in your Venue:
-
1 x at your BAR POS: might only need to display Snacks / Drinks instead of the whole menu. Does not need the floor plan. Needs fast access to the Cart for Takeaway orders, etc..
-
1 x in your RESTAURANT POS: Needs the Floor Plan to display first after login, etc.
-
1 x in your FUNCTION ROOM UPSTAIRS POS: Needs to print food at the kitchen but drinks at the upstairs Bar. Needs Seat options for big groups & dietaries, etc...
FIND ' DEVICE PROFILES ' IN THE BACK OFFICE:
-
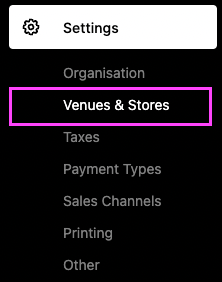
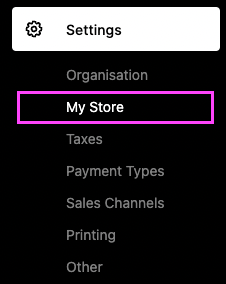
In your Back Office => Settings => Venues & Stores (if you have multiple venues)
OR My Store

-
Select / Create a Device Profile:

DETAILS:

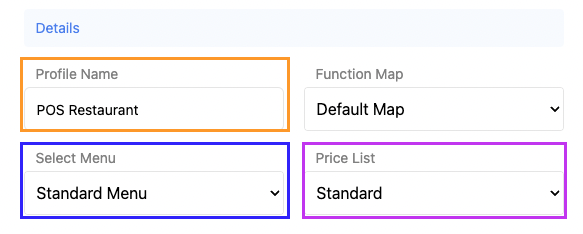
1. Details

-
PROFILE NAME: because I want to reuse this Device Profile on all my restaurant POS I will name it: POS Restaurant.
-
**FUNCTION MAP ***: Leave as Default as you need it in your POS
-
SELECT MENU: If you have different menus, you can select the one more appropriate for that Device, for example, a Menu with just: Bar Snacks / Drinks for your Bar POS
-
PRICE LIST: Keep the standard option as your 'Price List' (ex: Happy Hour') will apply automatically. But if your POS only offers 'Happy Hours' prices for example you can use that!
-
Function Map:

-
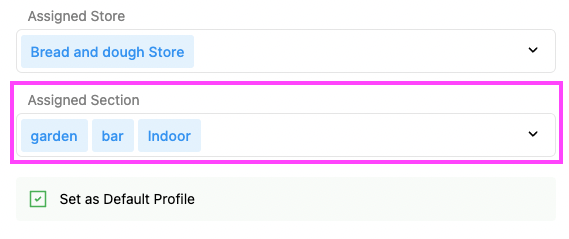
ASSIGNED STORE: If you want to reuse this Profile across several Venues using the same Menus & Setup
-
ASSIGNED SECTION: If your venue has Sections / Tables:
-
You can show all of them in your Floor Plan
-
You can show only some, for example: 'Courtyard' just for the Bar POS.
-
-
SET AS A DEFAULT PROFILE: Tick for the profile you reuse the most.
2. Preferences
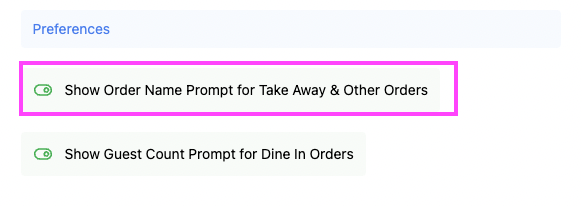
1. SHOW ORDER NAME
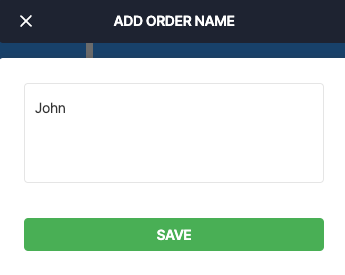
When you press 'Pay Now' or 'Send', orders other than 'Dine-In' will be prompted with 'Add Order Name' which can be used:
-
Customer Name: so the name can be called when the order is ready
-
Table number signs: type the number matching the sign you gave your customer.
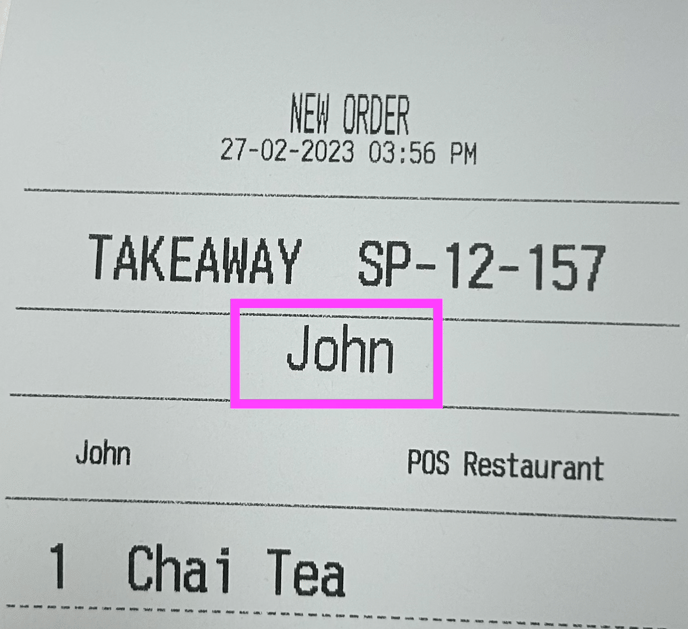
How it appears on the docket:
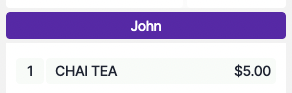
How it appears when 'SEND' in Open Orders:
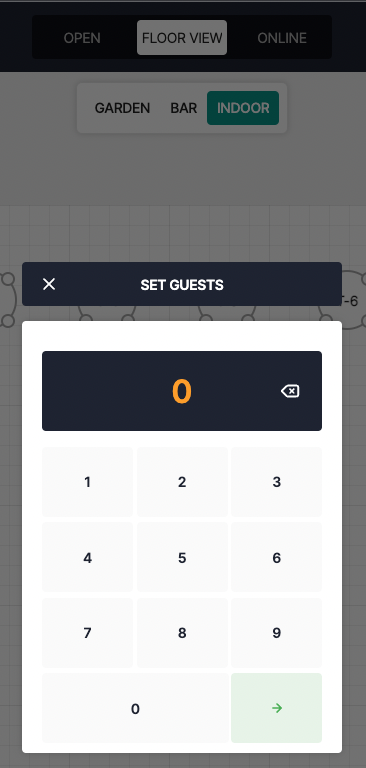
2. SHOW GUEST COUNT FOR DINE-IN
When you select a Table in your Floor Plan: this feature will ask to Set the amount of Guests at this table:
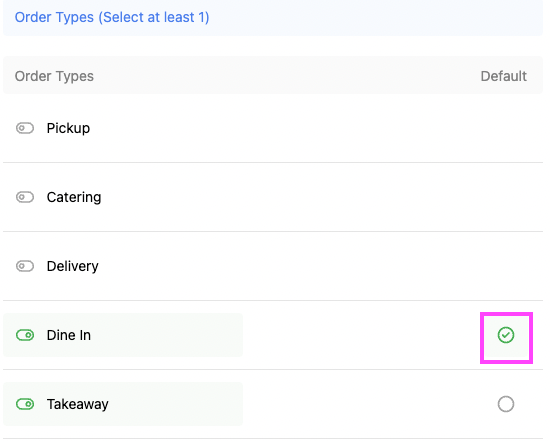
3. Order Types
Tick the order types your venue is using & choose which default option you'd like
(it will be the default option when you take orders):
-
Dine In: Better for restaurant
-
Takeaway: Better for Bar Service
OPTIONS:

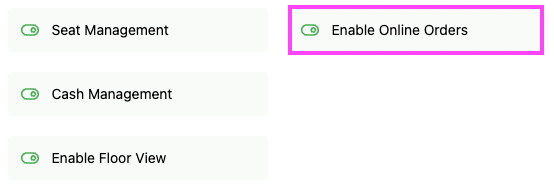
1. Features
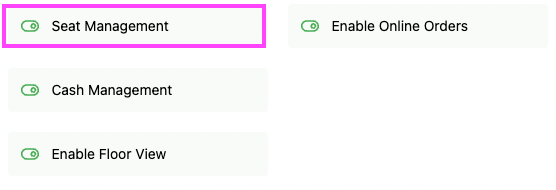
1. SEAT MANAGEMENT
When you select a table & add the amount of guests: this feature allows you to assign products to a specific seat/customer
Cart in POS:
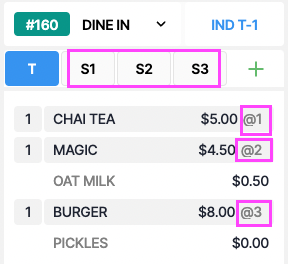
⚠️ To use ' Seat Management ' you need a Floor Plan with Sections & Tables
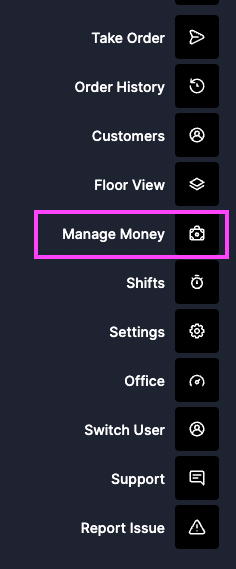
2. CASH MANAGEMENT
Allows you to create 'Money Events' such as: 'Withdraw Tips' 'Petty Cash' 'Float' to help you do your End of Shift better.
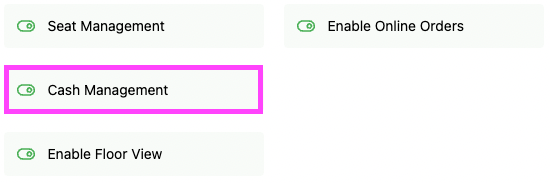
in POS:
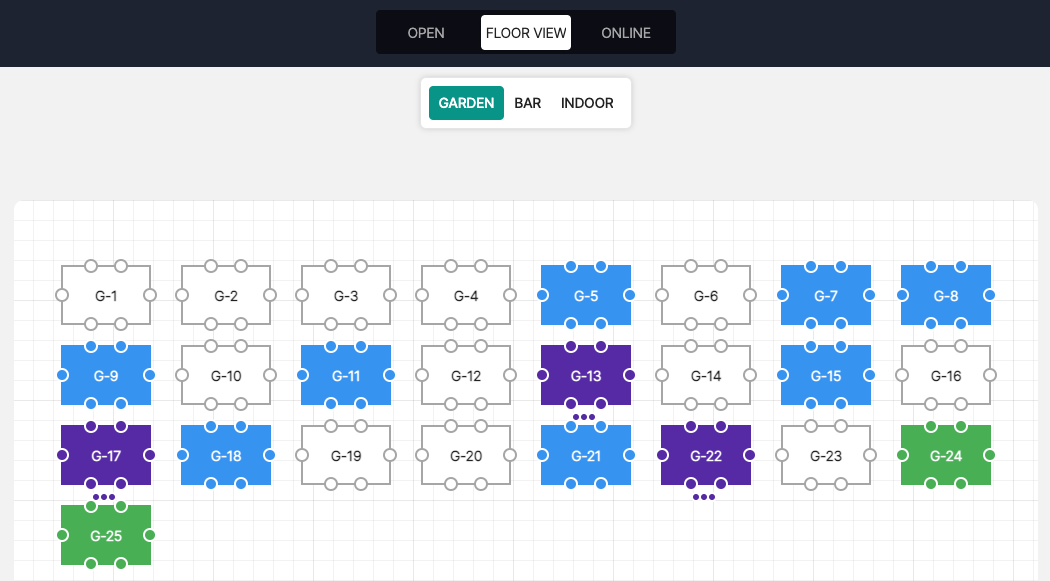
3. ENABLE FLOOR VIEW
Ads a button on your POS to allow you to access your Floor Plan with your Sections & Tables
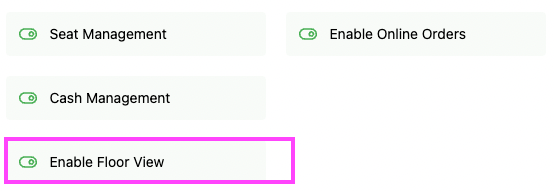
in POS:

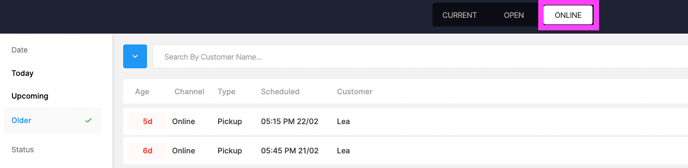
4. ENABLE ONLINE ORDERS
If your Venue has an Online Store / QR Codes: this Feature allows you to have access to your online orders from the POS directly.
in POS:
5. ENABLE COURSES
If your Venue serves: Starters / Mains / Desserts & need those Courses to be printed accordingly: you can Enable ' COURSE MANAGEMENT ' in FEATURES (Back Office)

2. Printing Options
![]()
1. PRINT RECEIPTS AUTOMATICALLY
![]()
Prints your Receipts Automatically after the Payment is taken when 'Complete Sale' is clicked:
2. PROMPT FOR PRINT / EMAIL RECEIPTS
![]()
Instead of printing automatically:
-
You are prompted to send the receipt via Email / SMS to your Customers
-
Print Order to print the receipt as usual
-
New Sale to skip printing the receipt

3. DO NOT PRINT OR PROMPT
![]()
After the Payment is taken, you are NOT Prompted to Print a receipt at all.
Best used for businesses like Cafes where few customers need their receipts.
You can always Print the receipt via ' Order History '
3. Printing Features
Are options that can be added to your Printers / Receipts
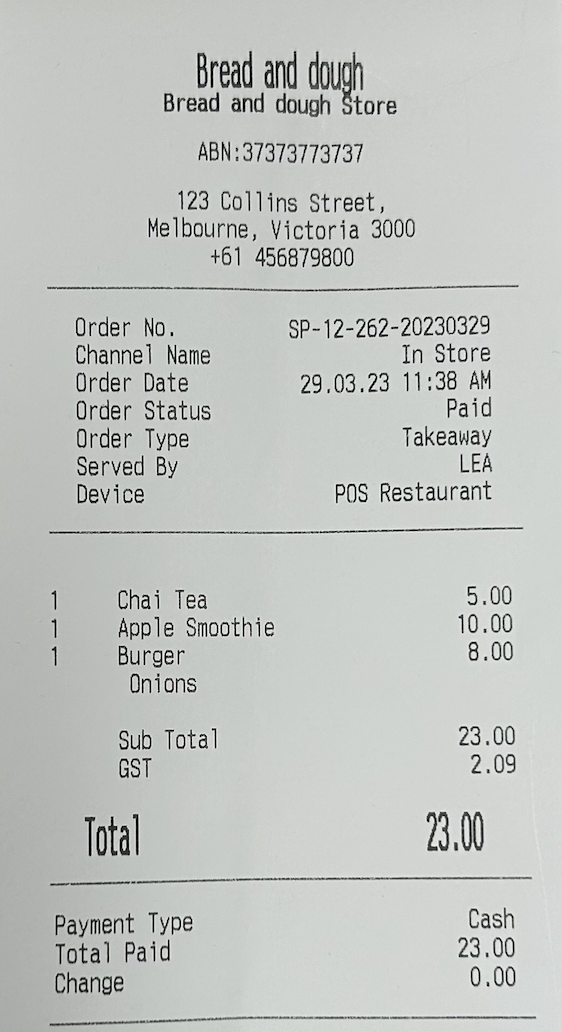
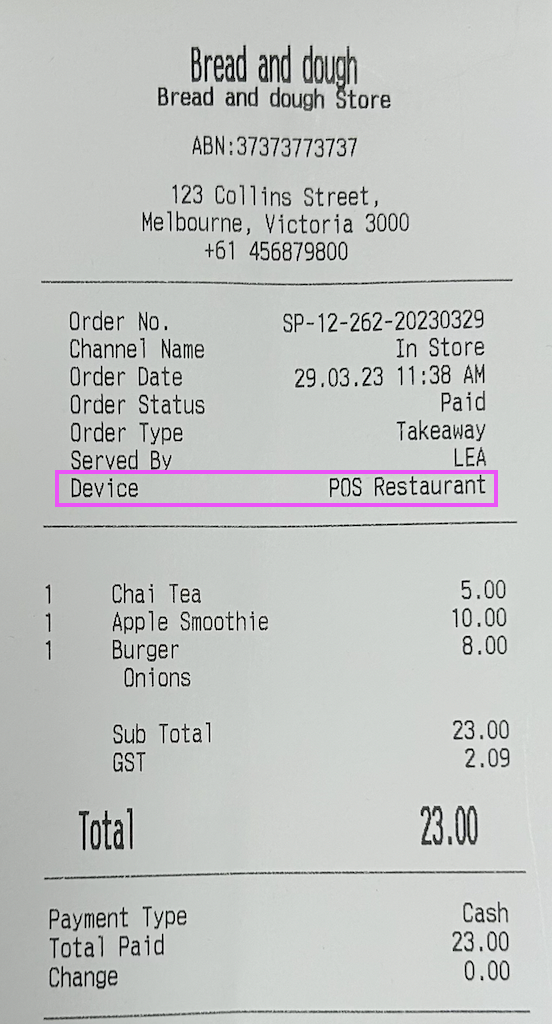
1. INCLUDE PRINTER PROFILE IN DOCKET
![]()
Your Device Profile will show on your receipt:
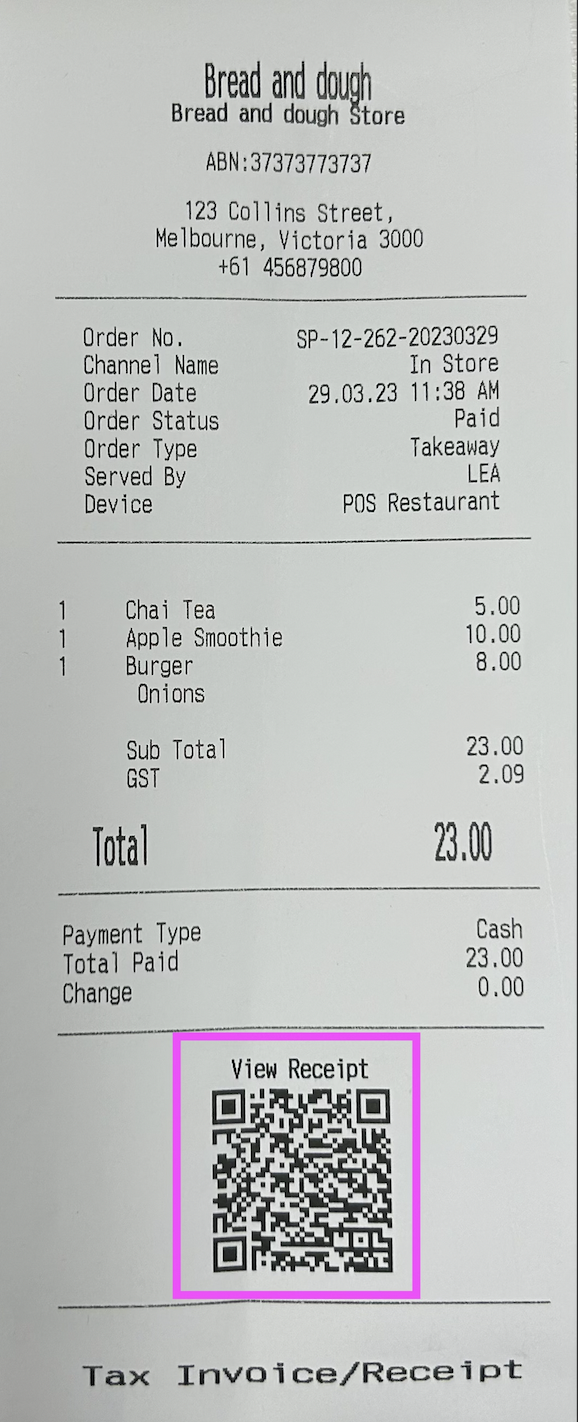
2. ENABLE QR PRINTING
Adds a QR on your receipt that Customers can use with their Phones to load their orders & Payments:
3. ENABLE KITCHEN BUZZER
Is an extra Accessory you can buy and add to your Printer to Enable a sound when an Order is Printed
WORKFLOW:

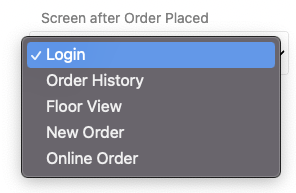
1. SCREEN AFTER ORDER PLACED
Once your order is sent or Paid: that's the screen you will be redirected to.
Login / Floor Views are the most common for restaurants for example.
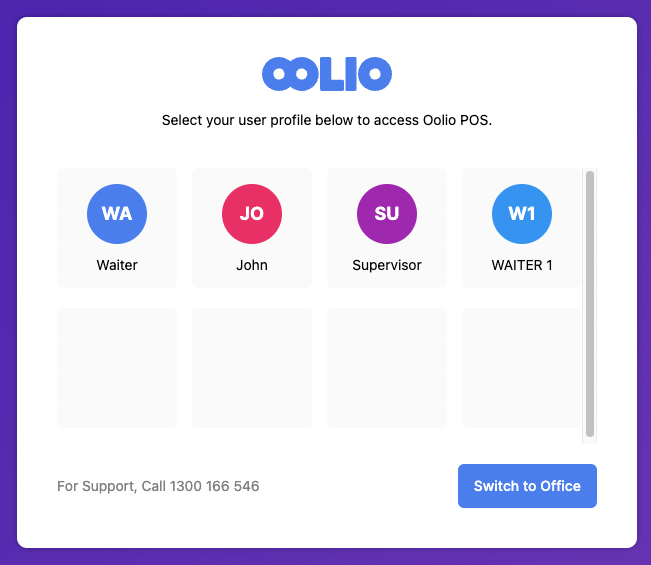
in POS: LOGIN SCREEN:
2. DEFAULT SALES SCREEN
Once you're logged in for example: this will be the default screen view:
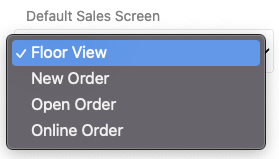
in POS:
FLOOR VIEW SCREEN:
Now that your Device Profiles are created, it's time to create a Device & Assign the