
Users identify individual staff members in Oolio One and control their access to Front of House POS and Back Office based on their assigned role and locations. Creating individual users also allows their activity to be recorded and included in relevant reports.
A user can be created directly or invited to Oolio One. The appropriate method depends on whether the user requires Back Office access and whether they already use Oolio.
Add a user
Start by selecting whether to create the user directly or send an invitation.
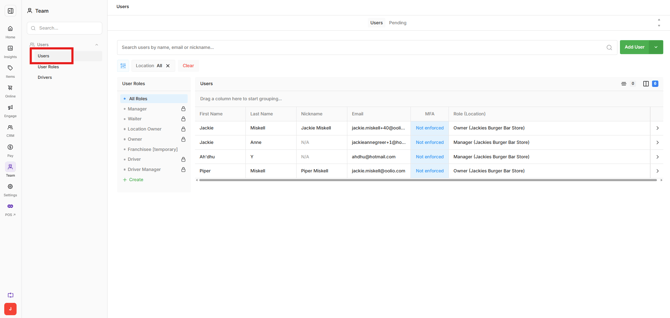
- Open Back Office > Team > Users.
- Select Add User.
- Select one of the following:
- Invite User: Use for a new Oolio user who requires Back Office access.
- Create User: Use for an existing Oolio user, or a new user who does not require Back Office access.
Create a user
Select Create User for an existing Oolio user, or when creating a new user who does not require Back Office access.
- Select Create User.
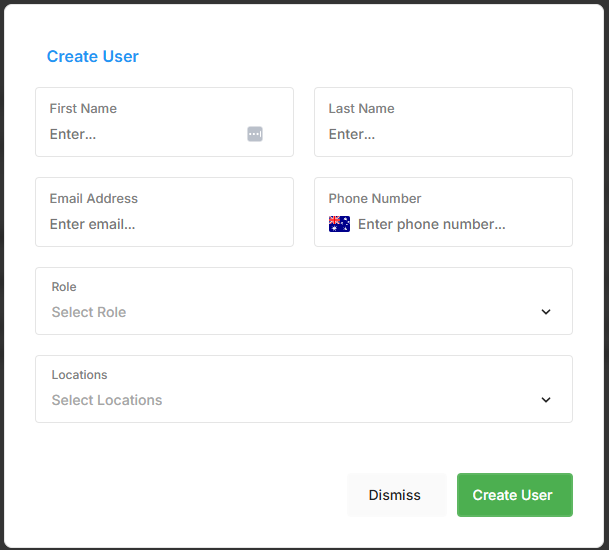
- Complete the user details:
- First Name: The user's first name. This appears on prep dockets and tax invoices and cannot be edited once set.
- Last Name: The user's last name. This appears on tax invoices and cannot be edited once set.
- Email Address: Enter the user's email address.
- Phone Number: Enter a phone number if required. This field is optional.
- Role: Select the preconfigured permission level that determines what the user can access.
- Locations: Select the locations the user can access.
- Select Create User.
Important: Users are unique and cannot share the same email address or phone number
The user is created and can be opened from Team > Users to configure additional details.
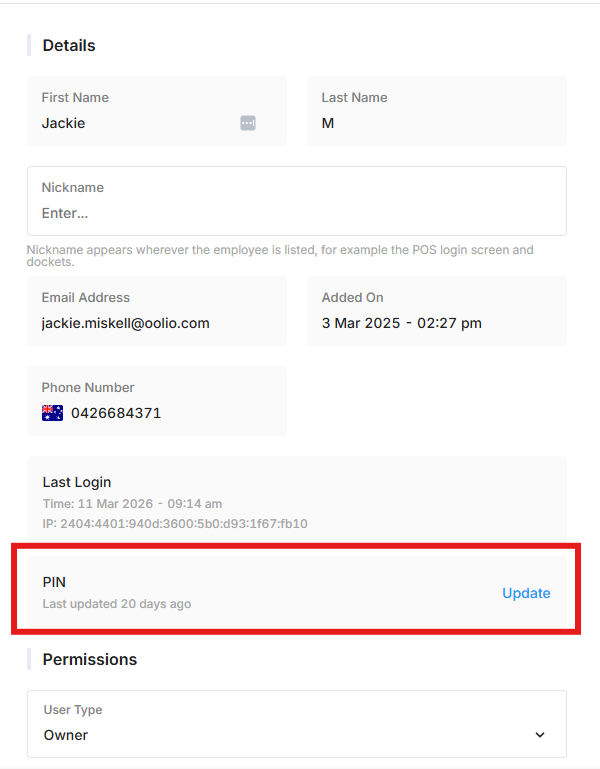
Step 2: Configure the user's PIN and Nickname
After creating the user, open their user record to configure additional POS details.
- Open Team > Users.
- Select the user.
- Configure the required details:
- PIN: Create or edit the PIN used to access POS. The PIN must be unique.
- Nickname: Enter a name to display instead of the user's First Name and Last Name on POS and dockets.
- Save the changes.
Invite a user
Select Invite User when a new Oolio user requires Back Office access. The invitation is sent to the email address entered during setup.
- Open Team > Users.
- Select Add User.
- Select Invite User.
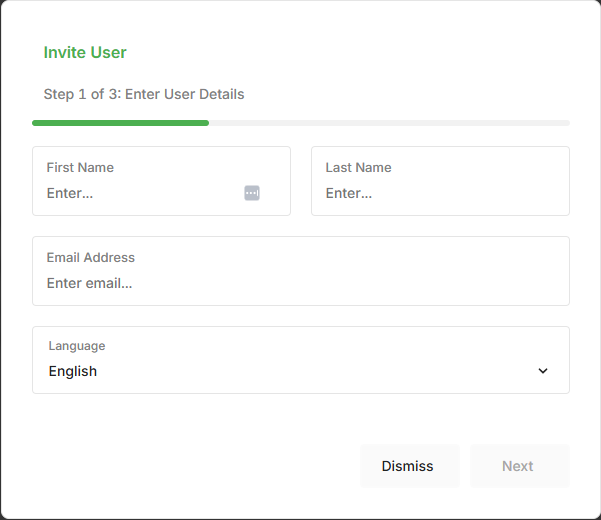
- Complete the user details:
- First Name: The user's first name. This appears on preparation dockets and tax invoices and cannot be edited once set.
- Last Name: The user's last name. This appears on tax invoices and cannot be edited once set.
- Email Address: Enter the email address where the invitation should be sent.
- Select Next.
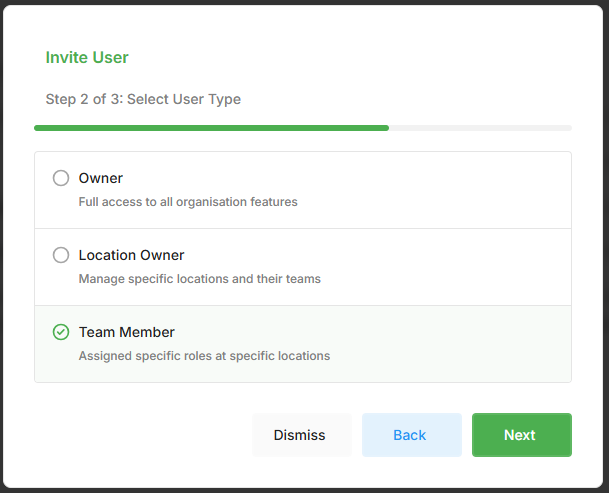
- Select the required user type:
- Owner: Has full access to the organisation.
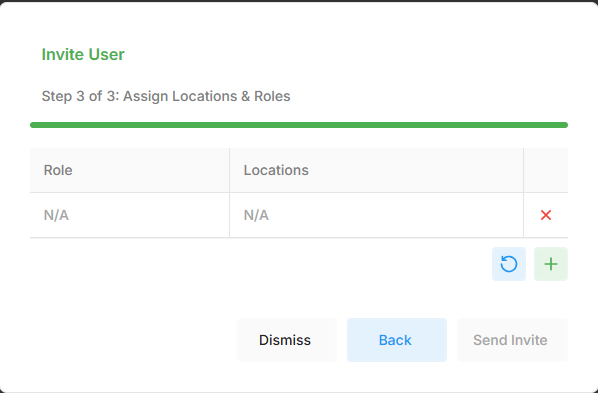
- Location Owner: Has full access to the locations specified during the next stage of setup.
- Team Member: Has access based on the User Role assigned during the next stage of setup.
-
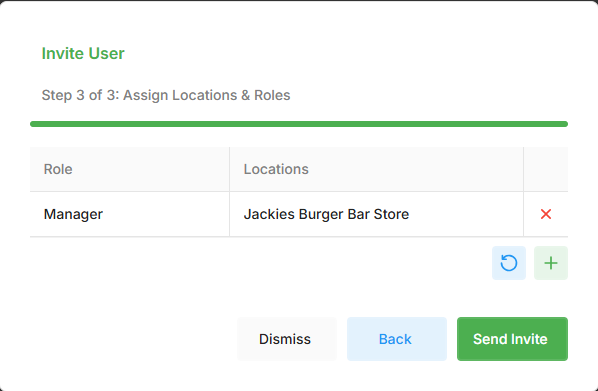
Select Next and assign the Location and User Role if required
- Select 'Send Invite'
-
After the invitation is sent, the user appears under Pending in Team > Users until the invitation is accepted and the user logs in.
Further user details, including the user's PIN, cannot be configured until the invitation has been accepted.
Once the invitation has been accepted, open the user from Team > Users to configure any additional details required for POS access.